Creating the perfect studio environment involves more than just great equipment and aesthetics. One crucial aspect that can significantly impact the quality of your recordings or creative sessions is the acoustics of the room. High-quality acoustic ceiling tiles can transform your studio by controlling sound reflections, reducing noise, and enhancing the overall acoustic environment. At Harlie Harper, we understand the importance of optimal acoustics in studio settings and offer top-tier acoustic ceiling solutions to meet your needs. This comprehensive guide explores how you can enhance your studio with high-quality acoustic ceiling tiles, covering their benefits, types, installation, and maintenance.
Enhancing your studio with high-quality acoustic ceiling tiles can significantly improve the acoustic environment, making it easier to produce, record, and mix high-quality sound. By choosing the right type of acoustic tiles, following proper installation techniques, and maintaining them regularly, you can create a studio that not only sounds great but also looks professional.
At Harlie Harper, we are committed to providing top-quality acoustic ceiling solutions tailored to the needs of your studio. Explore our range of acoustic ceiling tiles and transform your studio into a space where creativity and productivity thrive. Whether you are a professional musician, a content creator, or simply an audiophile, high-quality acoustic ceiling tiles are a valuable investment in your studio’s performance and aesthetics.
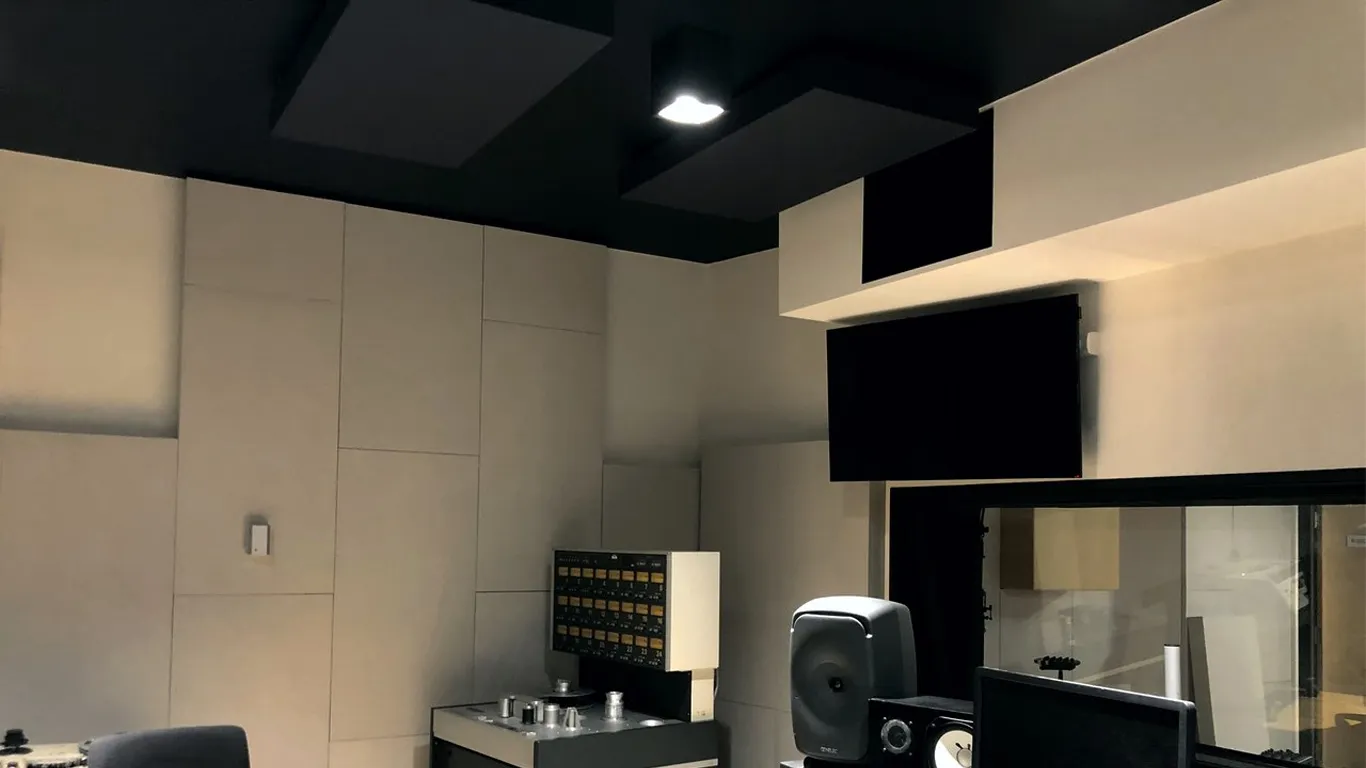
The Importance of Acoustic Treatment in Studios
Acoustic treatment is essential in studios to manage sound reflections, control reverberation, and eliminate unwanted noise. Without proper acoustic treatment, even the best audio equipment can fall short in delivering clear and accurate sound. Acoustic ceiling tiles are a key component of acoustic treatment, offering several advantages:
- Sound Absorption: Acoustic tiles absorb sound waves, reducing echo and reverberation. This creates a cleaner and more controlled sound environment, essential for recording and mixing.
- Noise Reduction: High-quality acoustic ceiling tiles help reduce ambient noise, making it easier to focus on recording or producing music without distractions.
- Improved Clarity: By minimizing sound reflections, acoustic tiles enhance the clarity of audio playback, allowing for more precise mixing and mastering.
Benefits of High-Quality Acoustic Ceiling Tiles
Investing in high-quality acoustic ceiling tiles for your studio offers numerous benefits that can enhance your creative work and overall studio experience.
Superior Sound Absorption
High-quality acoustic ceiling tiles are made from materials with excellent sound-absorbing properties, such as mineral fiber, fiberglass, and foam. These materials effectively trap and absorb sound waves, preventing them from bouncing around the room. This results in a more controlled acoustic environment, where you can accurately capture and monitor sound.
Enhanced Noise Reduction
In a studio setting, external noise can be a significant distraction. High-quality acoustic ceiling tiles help reduce noise from outside sources, creating a quieter and more focused workspace. This is particularly important for home studios or studios located in busy areas.
Aesthetic Appeal
Acoustic ceiling tiles are available in a wide range of designs, colors, and textures, allowing you to enhance the visual appeal of your studio. Whether you prefer a sleek, modern look or a more traditional design, there are acoustic tiles to match your style. Customizable options also allow you to incorporate your branding or unique design elements.
Easy Installation and Maintenance
Acoustic ceiling tiles are designed for easy installation, often requiring minimal tools and expertise. This makes it possible to upgrade your studio acoustics quickly and efficiently. Additionally, high-quality tiles are durable and easy to maintain, ensuring long-lasting performance and appearance.

Types of Acoustic Ceiling Tiles
There are various types of acoustic ceiling tiles to choose from, each offering unique benefits and suitable for different studio environments. Here are some of the most popular options:
Mineral Fiber Acoustic Tiles
Mineral fiber acoustic tiles are made from a blend of natural and synthetic materials, including fiberglass, clay, and perlite. These tiles are known for their excellent sound absorption and fire resistance. They are an economical choice and are widely used in both commercial and home studios.
Fiberglass Acoustic Tiles
Fiberglass acoustic tiles are composed of fine glass fibers bonded together. They offer superior sound absorption, moisture resistance, and thermal insulation. These tiles are lightweight and easy to install, making them a popular choice for high-performance studio environments.
Foam Acoustic Tiles
Foam acoustic tiles are made from open-cell polyurethane foam. They are highly effective at absorbing sound waves and reducing noise levels. Foam tiles are available in various shapes and sizes, including wedge, pyramid, and flat designs. They are commonly used in recording studios, home theaters, and vocal booths.
Wood Wool Acoustic Tiles
Wood wool acoustic tiles are made from wood fibers bonded with cement. They offer a natural aesthetic and good acoustic performance. These eco-friendly tiles are ideal for studios that prioritize sustainability and design.
Custom Acoustic Tiles
For studios with specific acoustic requirements or design preferences, custom acoustic tiles are an excellent option. Custom tiles can be tailored in terms of size, shape, color, and material to meet the unique needs of your studio.
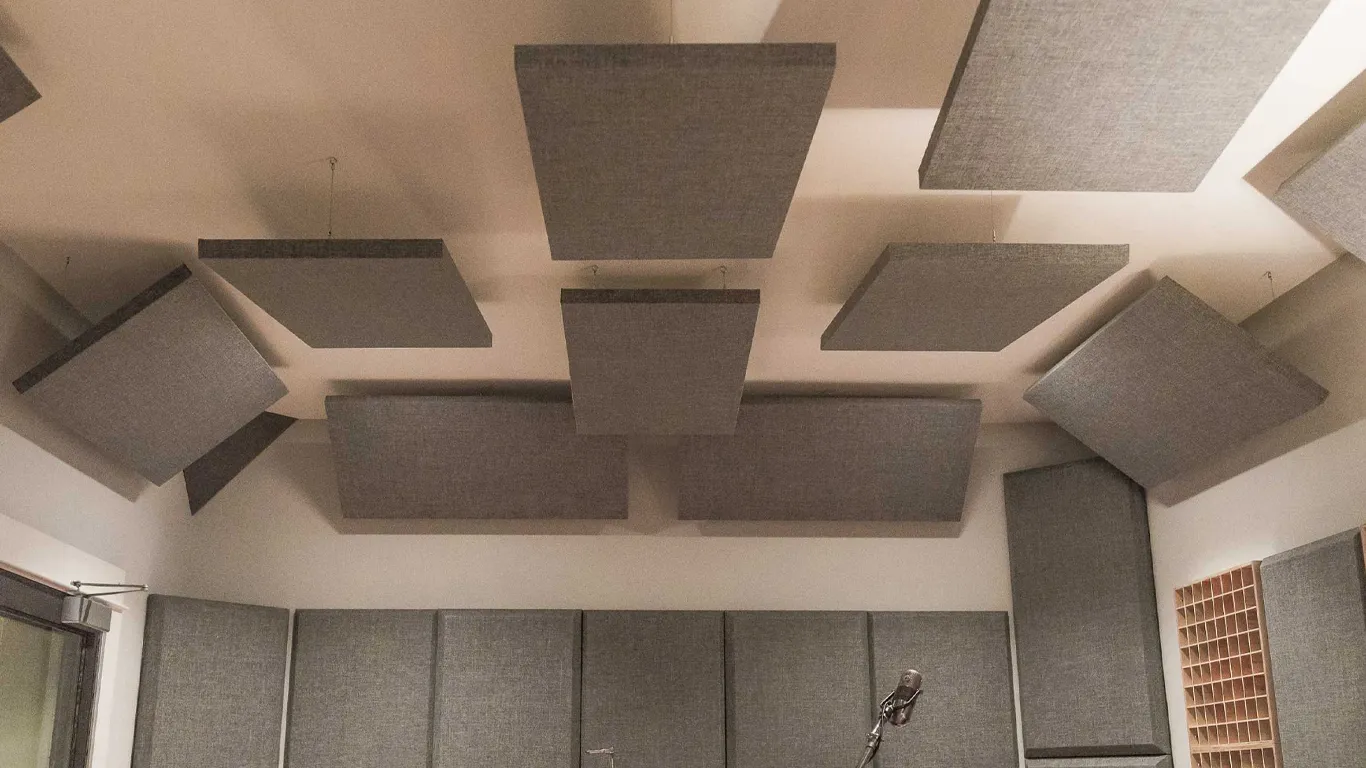
Installation of Acoustic Ceiling Tiles
Proper installation of acoustic ceiling tiles is crucial to achieving the desired acoustic performance. Here’s a step-by-step guide to help you install acoustic ceiling tiles in your studio:
Materials and Tools Required:
- Acoustic ceiling tiles
- Suspension grid system (for drop ceilings)
- Adhesive or mechanical fasteners (for direct mount tiles)
- Measuring tape
- Level
- Chalk line
- Utility knife
- Ladder or scaffold
- Safety goggles
- Work gloves
Steps:
- Measure the Room: Start by measuring the dimensions of your studio to determine the number of acoustic ceiling tiles you’ll need. Calculate the square footage and add an extra 10% to account for waste and cutting errors.
- Plan the Layout: Decide on the layout of the tiles. For suspended ceilings, plan the placement of the grid system. For direct mount tiles, determine the arrangement on the existing ceiling.
- Prepare the Space: Clear the studio of furniture and cover the floor with a drop cloth to protect it from dust and debris. Ensure that the ceiling surface is clean, dry, and free of any loose material.
- Mark the Perimeter: Use a level and a chalk line to mark the perimeter of the grid system on the walls. This line will serve as a guide for installing the wall angle.
- Install the Wall Angle: Attach the wall angle along the perimeter line using screws or nails. Ensure that it is level and securely fastened to the wall.
- Install the Main Runners: Measure and cut the main runners to fit the length of the room. Attach the main runners to the ceiling joists using hanger wires. The main runners should be spaced 4 feet apart.
- Install the Cross Tees: Snap the cross tees into place between the main runners, forming a grid pattern. Cross tees should be spaced 2 feet apart, creating a grid of 2×2 or 2×4 feet squares.
- Install the Acoustic Tiles: Begin placing the acoustic ceiling tiles into the grid, starting from one corner of the room. Tilt each tile slightly to fit it into the grid and then lower it into place. Ensure that the tiles are level and fit snugly within the grid.
- Cut Tiles to Fit: For tiles that need to fit around edges or obstacles, measure the required size and use a utility knife to cut the tiles to the appropriate dimensions. Install these cut tiles last, ensuring a precise fit.

Maintenance and Care for Acoustic Ceiling Tiles
To maintain the effectiveness and appearance of your acoustic ceiling tiles, regular maintenance is essential. Here are some tips for keeping your tiles in top condition:
Regular Cleaning : Dust the tiles regularly using a soft cloth or vacuum with a brush attachment. For stubborn stains, use a mild detergent and water solution. Avoid using harsh chemicals or abrasive cleaners.
Periodic Inspections : Periodically inspect the tiles for any signs of damage, such as cracks, sagging, or discoloration. Replace any damaged tiles promptly to maintain the integrity of the ceiling.
Controlling Humidity : Maintain a consistent indoor humidity level to prevent the tiles from warping or absorbing moisture. Use a dehumidifier in areas with high humidity.
Addressing Leaks : If you notice any water stains or signs of leakage, address the issue immediately to prevent further damage. Repair any roof or plumbing leaks and replace affected tiles.

